
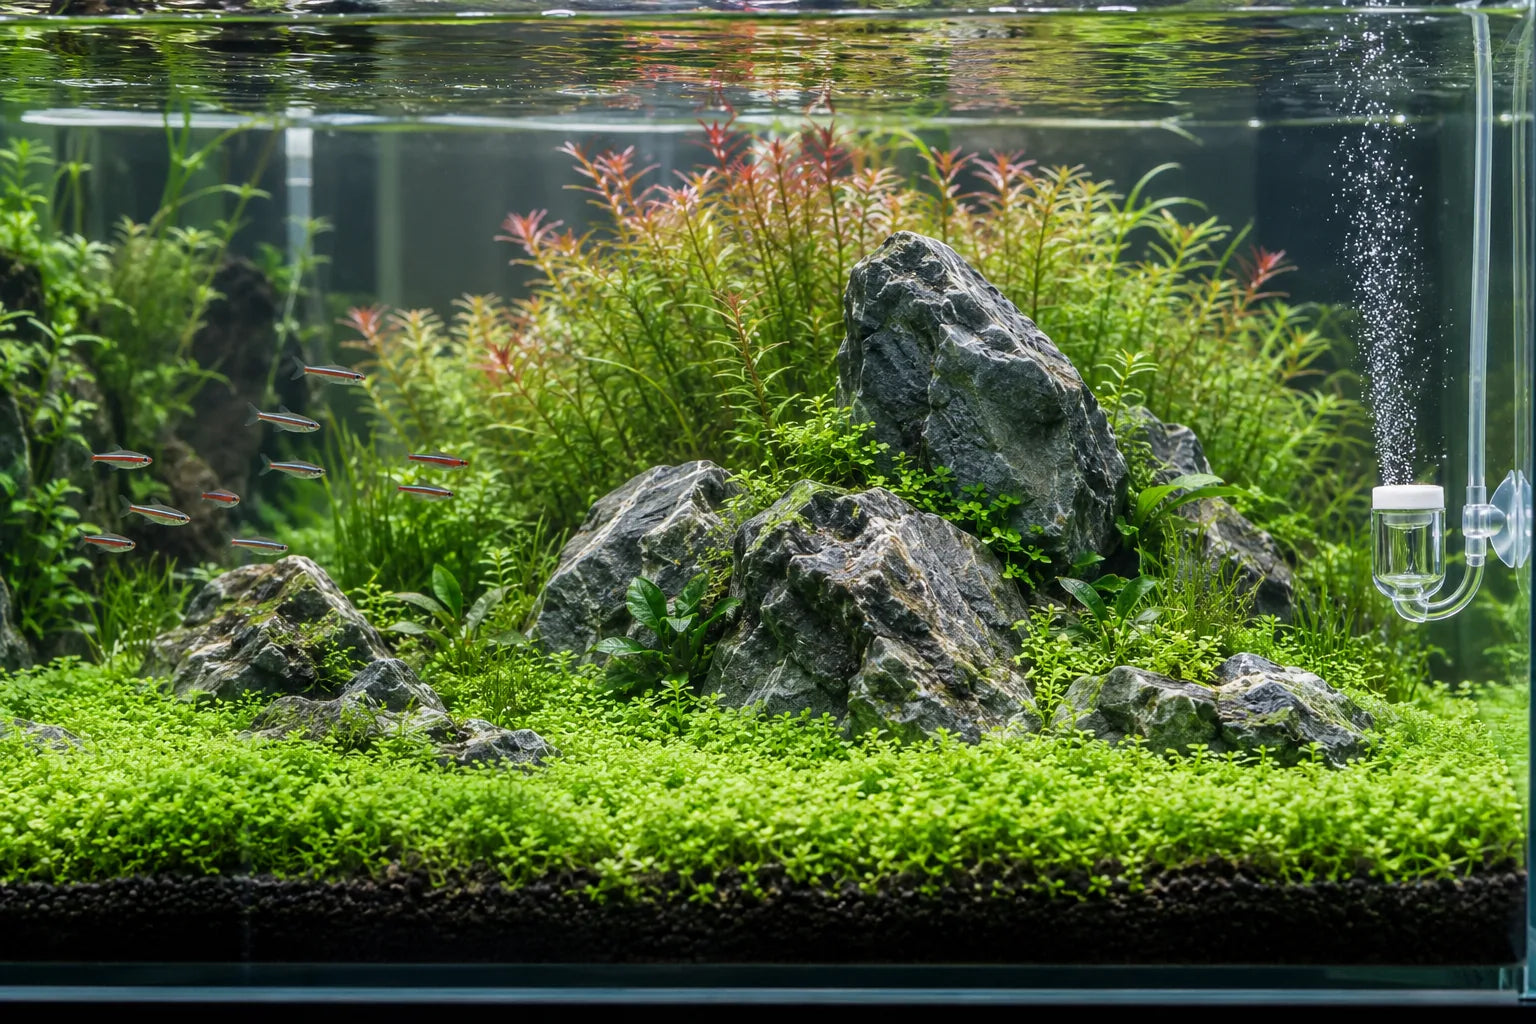

Compose a living landscape · 9 min read
Aquascaping: compose a living landscape
Create depth, contrast leaf textures and leave room to breathe: a practical guide to an aquarium that evolves with its plants.
Build the composition- Silhouettes
- 3 starting points
- Perspective
- Front · middle · back
- Design exercise
- A 60 cm aquarium
- Over time
- Observe and adjust
On this page
Give the landscape a direction
An aquascape begins before the first plant. It begins with a question: where should your eye settle, and where should it travel next? A sweeping branch, a group of stones or a gap between planted areas can establish that direction. Composition connects these elements so the aquarium reads as a whole.
Our starting point is a simple impression — a shaded riverbank, a bright clearing, a planted island. Keep that idea in mind as you experiment. It helps you decide which pieces belong and which unnecessarily complicate the scene. The result can feel natural without literally recreating a landscape above water.
Try describing your project in one sentence: “a large root on the left, descending vegetation and open space on the right.” If every object demands a leading role, simplify. You might place your focal point off centre; the rule of thirds is a sketching tool, never a requirement. An aquarium should also work from the side, from the chair where you actually enjoy it.
Three silhouettes to explore
Triangular, concave and convex compositions offer three starting points. They describe the overall outline of the masses, not a geometric shape to reproduce precisely. [1]
Triangular: a visual slope
A tall mass descends towards a more open side. Branches and plants can follow that direction.
Our exercise: draw a single diagonal first. Arrange your volumes beneath it, varying their height to avoid a staircase effect.
Concave: an opening between masses
Two masses frame a lower opening. Unequal sides can vary the outline around the central passage.
Our exercise: draw the open area before the planting. Check that you can still recognise it when the surrounding groups grow larger.
Convex: a planted island
The main volume gathers towards the centre, surrounded by clearer areas. Its highest point can be irregular and offset.
Our exercise: look at your island from three angles. If it resembles a uniform ball from every direction, create an indentation and vary the outline.
Create depth in a limited space
Depth comes from several visual cues working together. Overlapping volumes create distinct layers. Smaller elements towards the back and a narrowing opening can strengthen perspective; ADA demonstrates these techniques even in small aquariums. [2]
A substrate slope towards the back can also raise some planting areas. Plan it with suitable materials and retaining structures: an excessively steep mound can slip into the decorative area. Follow the substrate and aquarium manufacturers’ instructions. [3]
Our way of reading a layout is to look at the front edge, middle and background in turn. Each should contribute without completely hiding the next. Broad foliage in the middle can provide a transition; if it fills the entire height, it becomes a screen. Contrast between light and dark foliage can also help distinguish groups. [4]
Photograph your experiments from the front, at aquarium height. A layout that looks convincing from above may feel flat from the sofa. When comparing two arrangements, keep the angle and framing consistent so you can see what the adjustment actually changed.

Arrange wood and stone
The hardscape is the aquarium’s structure of wood and stone. A dominant direction in the wood can suggest movement, while entirely parallel branches may feel rigid. ADA’s composition examples show how the orientation of individual pieces changes the overall scene. [5]
For a first project, we suggest a limited palette: one family of stone, a consistent character of wood and a few supporting pieces. Try several arrangements while the tank is dry. A small stone should serve an intention — extending a line, supporting the base of a root visually or marking a transition — rather than merely filling a gap.
Stability matters more than the photograph. Do not balance a heavy rock on a tiny point or loose support that could move. Check that materials suit the water and intended animals, and follow the tank manufacturer’s guidance on loads. Leave enough space for planting and maintenance: moving a large piece after planting is much less convenient. [6]
Before filling, rehearse maintenance movements with your tools. Can you reach the rear glass, work beside the main rock and remove a pipe without dismantling the layout? These simple checks make the finished aquarium easier to enjoy.

Compose with leaves and colour
A plant is both a living organism and a volume within the composition. Choose it for its cultivation requirements and mature size before choosing its colour. An attractive silhouette in a photograph does not guarantee that the species suits your lighting, water or maintenance routine.
Different textures can create rhythm: broad leaves, fine foliage, rosettes and surfaces of moss. One ADA layout combines several growth forms to structure transitions between planted groups. [7] You do not need a huge collection of species. Our suggestion is to begin with a few clearly visible contrasts.
Red can become an accent, but an entirely green aquarium can be expressive too. Tropica also presents layouts combining different greens with a small colour accent. [8] Reserve your strongest contrast for the area you want people to notice. If bright groups occupy every corner, decide which one should lead the eye.
Think about future volume, not just the pot you receive. In “Circle of Water,” ADA describes planning around the planting at maturity. [9] For help choosing growth forms and preparing your plants, continue with our guide to easy aquarium plants.
Leave room to breathe
An open space is part of the design, not an unfinished area. It can separate textures, reveal the line of a branch or provide a pause between dense groups. It need not be completely empty: low planting can preserve a sense of openness.
For our composition exercise, choose one area to protect: a clear foreground, a visual corridor or a gap above a root. Take a photograph and mentally trace its outline. Over the following weeks, ask whether that shape is still recognisable. This gives your trimming a more concrete purpose than shortening everything a little.
You do not have to turn every available space into a place for another purchase. An interesting new plant may not belong in this particular aquarium. If you are unsure, keep it temporarily in another suitable container and revisit your sketch. What should it improve? If the answer remains unclear, the layout may already have what it needs.
Design for the living aquarium
The landscape must suit its inhabitants. Plants do not replace water testing or appropriate filtration; OATA emphasises these foundations for planted aquariums. [6] Choose animals according to their needs, usable volume, tank dimensions and system maturity, rather than to complete a colour palette.
Our final layout checklist includes access to the filter intake and outlet, room to clean the glass, swimming space or shelters appropriate to the intended species, and access to areas where debris collects. Consider whether mature plants will make those spaces difficult to reach.
Observe the aquarium after filling instead of assuming water circulates everywhere. An attractive drawing may still require a change in equipment positioning or planting. Allowing for adjustments from the beginning makes it easier to improve function without rebuilding the entire landscape.

An example for a 60 cm aquarium
This is an original design exercise to adapt to your tank and its actual requirements. The illustrations in this article show different scenes; they are not a before-and-after record of this example.
- The intention: a planted bank on the left opening towards the right. Sketch its triangular silhouette on paper.
- The main piece: choose a root proportionate to the aquarium. Try its orientation without pressing it against every pane.
- The supporting pieces: arrange a few coherent stones at its base. Remove small pieces that obscure the main line.
- The planted volumes: plan a tall background group, a middle group and a low transition. Then select species compatible with your setup.
- The opening: keep the front right area legible. Check maintenance access before planting.
- The revision: take one photograph from the front and another from the side. Address one specific issue at a time: an oversized mass, a hidden branch or an invisible background.
This plan does not prescribe plant quantities, lighting power or livestock. Those decisions require the full dimensions, equipment and water conditions of your aquarium.
Let the layout evolve
Trimming maintains the composition, but the method depends on the plant’s growth form. Tropica favours small, regular interventions and distinguishes stems, rosettes, rhizomes and runner-producing plants. [10] Maintaining an outline therefore calls for several targeted actions rather than cutting the entire aquarium uniformly.
| What you see | What to examine | A small experiment |
|---|---|---|
| Everything looks flat | Are the groups arranged along one line? | Offset a volume to create overlap. |
| Your eye keeps wandering | Do several accents have equal strength? | Soften a secondary accent. |
| The root disappears | Does a planted group hide its main line? | Reveal one portion instead of stripping everything back. |
| The opening closes | Are the planted edges advancing? | Redefine the outline using a method appropriate to the plants. |
Keep photographs taken under similar conditions. They can help you distinguish an interesting development from a gradual loss of your original intention. You are also allowed to change your mind: a successful aquascape can become something different from its first sketch.
Common questions
Must I follow the rule of thirds?
No. We suggest it as a starting point for comparing placements, not as a test of success. A centred, offset or freer composition can work. Focus on the relationships between the masses, the opening and the point that attracts your attention.
Is a sand path essential?
No. In our approach, depth can also emerge between planted groups or around a root. Choose a path if you enjoy its visual role and maintenance; do not add one only because it appears in an inspiration photograph.
Can I compose a small aquarium?
Yes. ADA’s small aquarium examples show how the scale and orientation of materials can suggest depth. [2] This does not change the actual space available: the requirements of plants and any animals remain decisive.
Sources and further reading
Original Sousleau editorial. These sources document horticultural principles and composition examples; the exercises and reviewing prompts are our editorial suggestions. illustrations do not depict customer aquariums and are not botanical identification plates.
- ADA — Starting from Zero: composition silhouettes.
- ADA — Suikei Words 05: perspective in small aquariums.
- Tropica — Hardscape and substrate: layout and substrate preparation.
- Tropica — Layout 35: planting layers and foliage contrast.
- ADA — Suikei Words 02: driftwood orientation.
- OATA — How to set up a planted aquarium: installation and the living system.
- ADA — Waterside Palette: textures and planted groups.
- Tropica — Layout 2: shades of green and a colour accent.
- ADA — Circle of Water, part 2: anticipating growth.
- Tropica — Trimming: pruning different growth forms.